week1
实验内容
认真阅读章节资料
在实验机上安装虚拟运行环境,并安装ubuntu(实验室机器已安装,若需要可在自己笔记本电脑另行安装)
安装ubuntu开发环境,32位环境
下载bochs源码,编译并安装bochs环境
使用bochs自带工具bximage创建虚拟软驱
阅读、编译boot.asm,并反汇编阅读
修改bochsrc,运行并调试你的第一个程序
完成实验练习要求
实验步骤
下载virtualbox或vmware
下载32位ubuntu镜像文件并安装
修改ubuntu源(可选)
首先要清楚自己Ubuntu的版本信息
搜索对应版本Ubuntu的apt源
Ubuntu16.04 apt源(阿里)
deb-src http://archive.ubuntu.com/ubuntu xenial main restricted #Added by software-properties
deb http://mirrors.aliyun.com/ubuntu/ xenial main restricted
deb-src http://mirrors.aliyun.com/ubuntu/ xenial main restricted multiverse universe #Added by software-properties
deb http://mirrors.aliyun.com/ubuntu/ xenial-updates main restricted
deb-src http://mirrors.aliyun.com/ubuntu/ xenial-updates main restricted multiverse universe #Added by software-properties
deb http://mirrors.aliyun.com/ubuntu/ xenial universe
deb http://mirrors.aliyun.com/ubuntu/ xenial-updates universe
deb http://mirrors.aliyun.com/ubuntu/ xenial multiverse
deb http://mirrors.aliyun.com/ubuntu/ xenial-updates multiverse
deb http://mirrors.aliyun.com/ubuntu/ xenial-backports main restricted universe multiverse
deb-src http://mirrors.aliyun.com/ubuntu/ xenial-backports main restricted universe multiverse #Added by software-properties
deb http://archive.canonical.com/ubuntu xenial partner
deb-src http://archive.canonical.com/ubuntu xenial partner
deb http://mirrors.aliyun.com/ubuntu/ xenial-security main restricted
deb-src http://mirrors.aliyun.com/ubuntu/ xenial-security main restricted multiverse universe #Added by software-properties
deb http://mirrors.aliyun.com/ubuntu/ xenial-security universe
deb http://mirrors.aliyun.com/ubuntu/ xenial-security multiverse
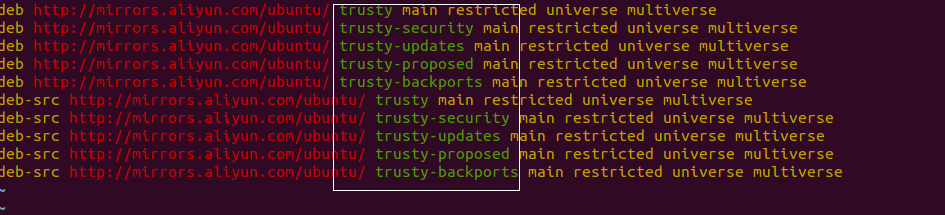
Ubuntu14.04 apt源(阿里)
deb http://mirrors.aliyun.com/ubuntu/ trusty main restricted universe multiverse
deb http://mirrors.aliyun.com/ubuntu/ trusty-security main restricted universe multiverse
deb http://mirrors.aliyun.com/ubuntu/ trusty-updates main restricted universe multiverse
deb http://mirrors.aliyun.com/ubuntu/ trusty-proposed main restricted universe multiverse
deb http://mirrors.aliyun.com/ubuntu/ trusty-backports main restricted universe multiverse
deb-src http://mirrors.aliyun.com/ubuntu/ trusty main restricted universe multiverse
deb-src http://mirrors.aliyun.com/ubuntu/ trusty-security main restricted universe multiverse
deb-src http://mirrors.aliyun.com/ubuntu/ trusty-updates main restricted universe multiverse
deb-src http://mirrors.aliyun.com/ubuntu/ trusty-proposed main restricted universe multiverse
deb-src http://mirrors.aliyun.com/ubuntu/ trusty-backports main restricted universe multiverse
修改/etc/apt/sources.list文件
bochs下载(源码下载)
版本:2.6.9
安装依赖库
需要安装build-essential、libx11-dev、libxrandr-dev、libsdl1.2-dev、vgabios、bximage,可在编译过程中发现
sudo apt install build-essential libx11-dev libxrandr-dev libsdl1.2-dev vgabios bximage
编译和安装bochs
配置
在bochs源码文件夹下运行命令
./configure --withsdl --enable-debugger --enable-disasm提示
如果运行该命令后出现warning: –enable-disasm xxxx这种警告,表示不需要加该参数,disasm模块已经默认设置好,继续下一步即可
安装
运行命令
sudo make下载
运行命令
sudo make install
下载本书源码
QQ群内提供iso.gz文件
直接从github上下载
Caution
不建议在windows系统中提取出iso中的文件然后传入ubuntu中,原因是windwos和linux中换行符存在差异,导致跨系统文件有时不能正常工作。
建议在linux中挂载好iso后将文件拷贝出去,不要直接在挂载目录下运行,因为该iso为只读文件,会导致后续命令出现问题
修改源码文件中的bochsrc
修改vgaromimage对应的文件位置,以你的实际安装位置为准
注释掉keyboard_mapping一行
增加display_library: sdl(某些linux下该项可选)
制作可启动软盘
编译源码
nasm boot.asm –o boot.bin
产生虚拟软驱
bximage
写引导盘
dd if=boot.bin of=a.img bs=512 count=1 conv=notrunc
启动
bochs –f ./bochsrc
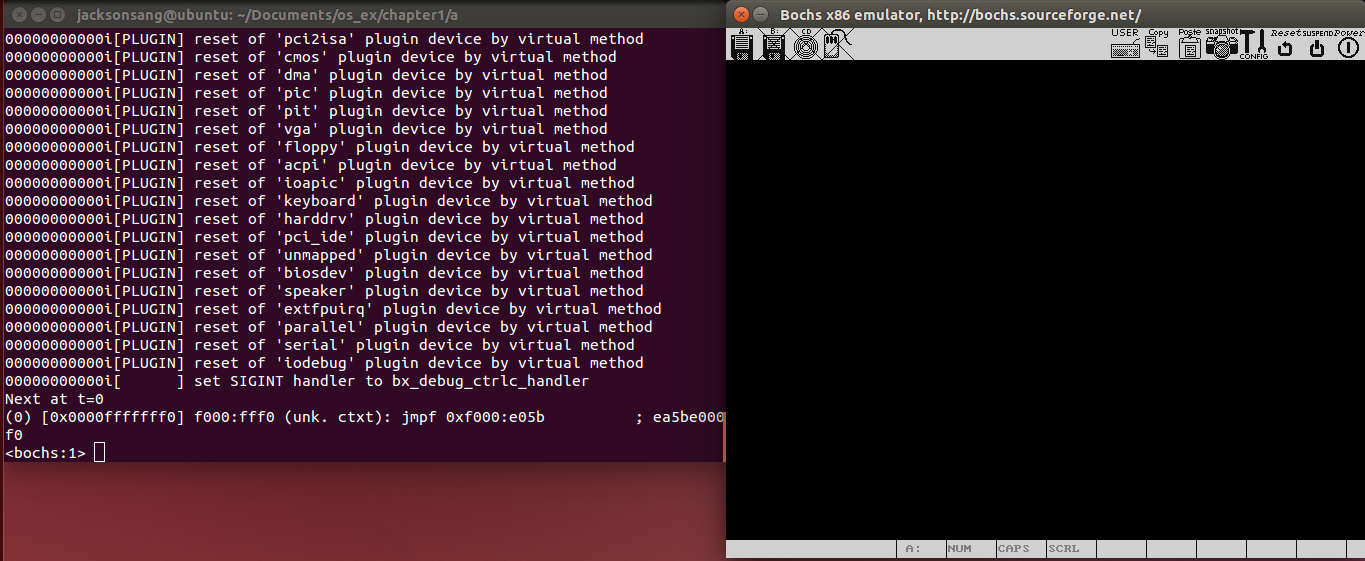
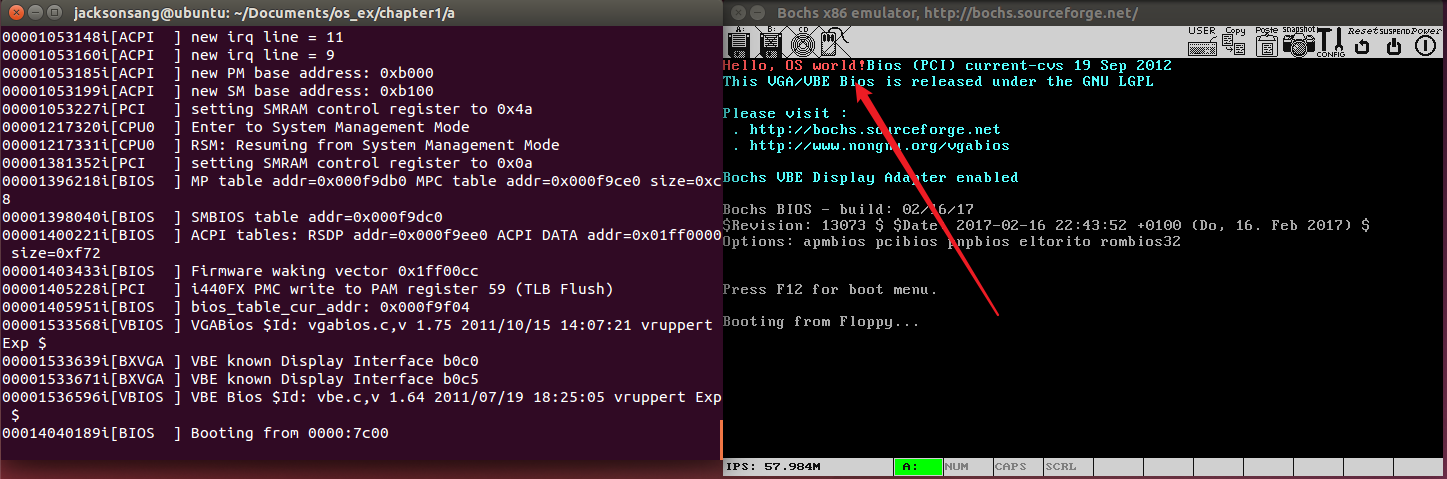
在bochs中输入字符c,表示继续运行,此时可以看到”Hello , OS world”
提示
-f参数不是必须的,当你输入一个不带参数的的bochs命令时,bochs会在当前目录顺序寻找.bochsrc、bochsrc文件作为默认配置文件,详情请参考书上32页
实验练习
删除0xAA55,观察程序效果,找出原因
修改程序中输出为,一个包含自己名字的字符串,调 试程序
把生成的可执行文件反汇编,看看输出的内容是怎样 的,并在虚拟机启动过程,设置断点进行调试,在实 验报告中截图
为什么要jmp $,如何改造程序,让这个输出过程执 行100次
回答:为什么要对段寄存器进行赋值
回答:如何在该程序中调用系统中断
FAQ
Q: apt安装一些包时产生依赖无法解决
apt产生依赖报错一般是是源的问题,新手很容易出现源的版本和ubuntu版本不适配问题。检查步骤如下
命令行输入lsb_release -a命令,查看codename(以ubuntu14.04为例)
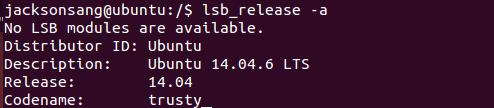
可以看到对应的code那么为trusty,查看/etc/apt/sources.list中对应的源版本,检查是否一致,如果为xenial说明使用了ubuntu16的apt源。
Q: 如何在虚拟机和宿主机之间传递文件
共享文件夹(需要自己摸索)
邮件传递
使用相关网站如奶牛快传,在主机中上传文件,在虚拟机中下载文件
Q: 安装bochs源码时迟迟未弹出下载窗口
由于网络的问题,在sourceforge下载bochs源码时确实需要等待一段时间,请耐心等候30秒。
30秒已过你有点等不及了,可以使用wget命令,直接在命令行中输入 wget https://sourceforge.net/projects/bochs/files/bochs/2.6.9/bochs-2.6.9.tar.gz进行下载
Q: 如何找到vgaromimage和romimage的对应文件位置
使用find命令在根目录下寻找文件”BIOS-bochs-latest”和”vgabios.bin”文件。

将结果写入bochsrc中

Q: tar.gz、gz、iso这些文件要怎么用
对于使用命令行的同学,我相信你已经熟悉linux了,这些知识谷歌一下就出来了。
对于使用图形化界面的同学,就更为简单了,tar.gz和gz都是压缩包,右键点击文件解压缩即可,iso文件需要挂在到linux中,同样右键点击文件挂载(mount)即可。
Q: bochs报错cannot open rom image file xxxx

很简单,请检查romimage路径是否正确。
Q: bochs报错cpu directive malformed

很有可能是因为在bochs-2.6.9的源码目录下直接运行了bochs,请到本书配套源码的目录下运行bochs,并修改好bochsrc,以及使用-f指定bochsrc的位置。